Exposure
Exposure determines the duration of camera and light-source on-time. Longer exposures can be helpful to detect light on dark or distant surfaces, but increasing exposure time decreases the maximum speed.

|
Due to sensor architecture, exposure values provided by the user in the interface are divided by a factor of 1.024 internally. So for example, setting an exposure value of 1000 µs results in the sensor using a 977 µs exposure internally. This, in addition to various overhead factors, can result in a discrepancy between Max Frame Rate displayed on the Trigger panel and the speed reported in the metrics area, but this is only obvious at higher frame rates. |
| Exposure Mode | Description |
|---|---|
| Single | Uses a single exposure for all objects. Used when the surface is uniform and is the same for all targets. |
| Dynamic | Automatically adjusts the exposure after each frame. Used when the target surface varies between scans. |
| Multiple | Uses multiple exposures to create a single profile. Used when the target surface has a varying reflectance within a single profile (e.g., white and black). |
For more information on the different types of exposure options, see the sections below.
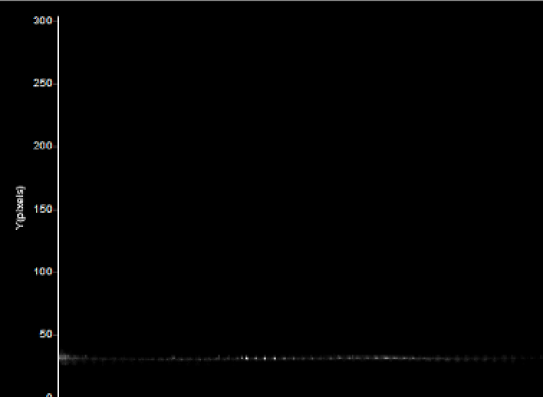
Video mode lets you see how the light appears on the camera and identify any stray light or ambient light problems. When exposure is tuned correctly, the projected light should be clearly visible along the entire length of the viewer. If it is too dim, increase the exposure value; if it is too bright decrease exposure value.
|
Under-exposure: |
Over-exposure: |
When the sensor is in Multiple exposure mode, select which exposure to view using the drop-down box next to "View" in the data viewer. This drop-down is only visible in Video scan mode when the Multiple option is selected in the Exposure section in the Sensor panel.


