Adding and Configuring a Measurement Tool
Adding a tool adds all of the tool's measurements to the Tools panel. You can then enable and configure the measurements selectively.
To add and configure a tool:
|
1.
|
Go to the Scan page by clicking on the Scan icon. |
|
|
2.
|
Choose Profile or Surface mode in the Scan Mode panel. |
If one of these modes is not selected, tools will not be available in the Measure panel.
|
|
3.
|
Go to the Measure page by clicking on the Measure icon. |
|
|
4.
|
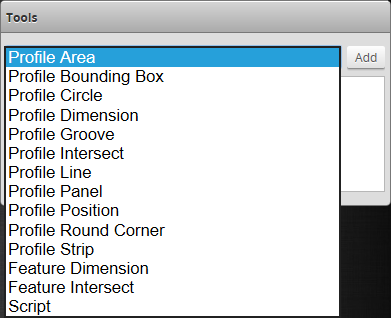
In the Tools panel, select the tool you want to add from the drop-down list of tools. |
|
|
5.
|
Click on the Add button in the Tools panel. |
The tool and its available measurements are added to the tool list. The tool parameters are listed in the area below the tool list.
|
|
6.
|
(Optional) If you are running a dual-sensor system, choose the sensor that will provide data to the measurement tool in Source. |
For more information on sources, see Source.
|
|
7.
|
(Optional) If the measurement is a profile measurement running on a section, and you have created more than one section, choose the section that will provide data to the measurement in Stream. |
For more information on streams, see Stream.
|
|
8.
|
Select a measurement at the bottom of the tool panel. |
|
|
9.
|
Set any tool- or measurement-specific settings. |
For tool- and measurement-specific settings, see the topics for the individual profile or surface tools.
|
|
10.
|
Set the Min and Max decision values. |
For more information on decisions, see Decisions.
|
|
11.
|
(Optional) Set one or more filters. |
For more information on filters, see Filters.
|
|
12.
|
(Optional) Set up anchoring. |
For more information on anchoring, see Measurement Anchoring.
|