Running a Dual-Sensor System
All sensors are shipped with a default IP address of 192.168.1.10. Ethernet networks require a unique IP address for each device, so you must set up a unique address for each sensor.
To configure a dual-sensor system:
All sensors are shipped with a default IP address of 192.168.1.10. Ethernet networks require a unique IP address for each device. Skip step 1 to 3 if the Buddy sensor's IP address is already set up with an unique address. |
|
|||||
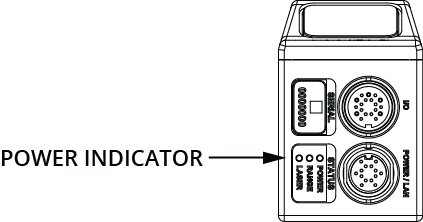
The power LED (blue) of the Buddy sensor should turn on immediately. |
|
|||||
The web interface loads. |
|
|||||
|
|
|||||
When you click the Save button, you will be prompted to confirm your selection. |
|
|||||
After changing network configuration, the sensors must be reset or power-cycled before the change will take effect. |
|
|||||
The web interface loads. |
|
|||||
|
|
|||||
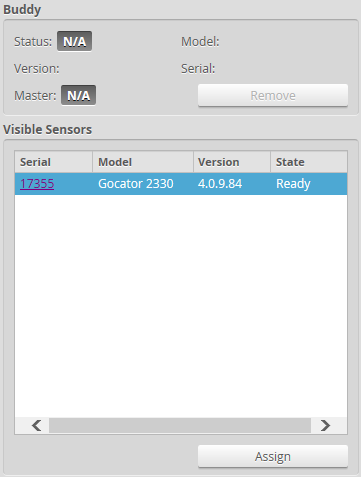
The serial number of the Buddy sensor is listed in the Available Sensors panel. |
|
|||||
The Buddy sensor will be assigned to the Main sensor and its status will be updated in the System panel. The firmware on Main and Buddy sensors must be the same for Buddy assignment to be successful. If the firmware is different, connect the Main and Buddy sensor one at a time and follow the steps in Firmware Upgrade to upgrade the sensors. |
|
|||||
|
Master 400/800/1200/2400
Master 810/2410 |
|||||
|
|
|||||
The Start button is used to run sensors continuously, while the Snapshot button is used to trigger a single |
||||||
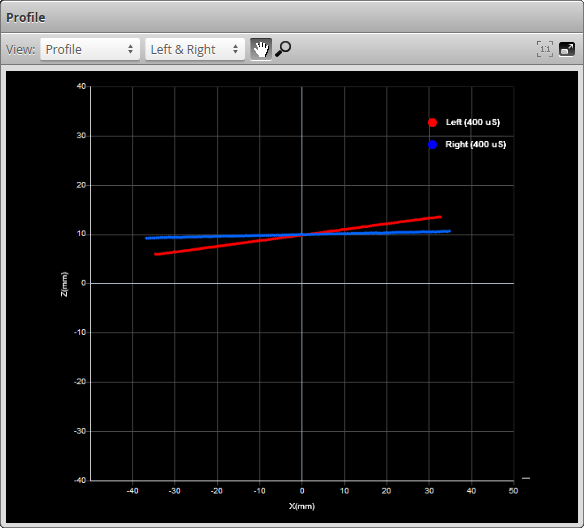
If a target object is within the sensor's measurement range, the data viewer will display scan data, and the sensor's range indicator will illuminate. If no scan data is displayed in the data viewer, see Troubleshooting. |
|
|||||
The laser should turn off. |
|


